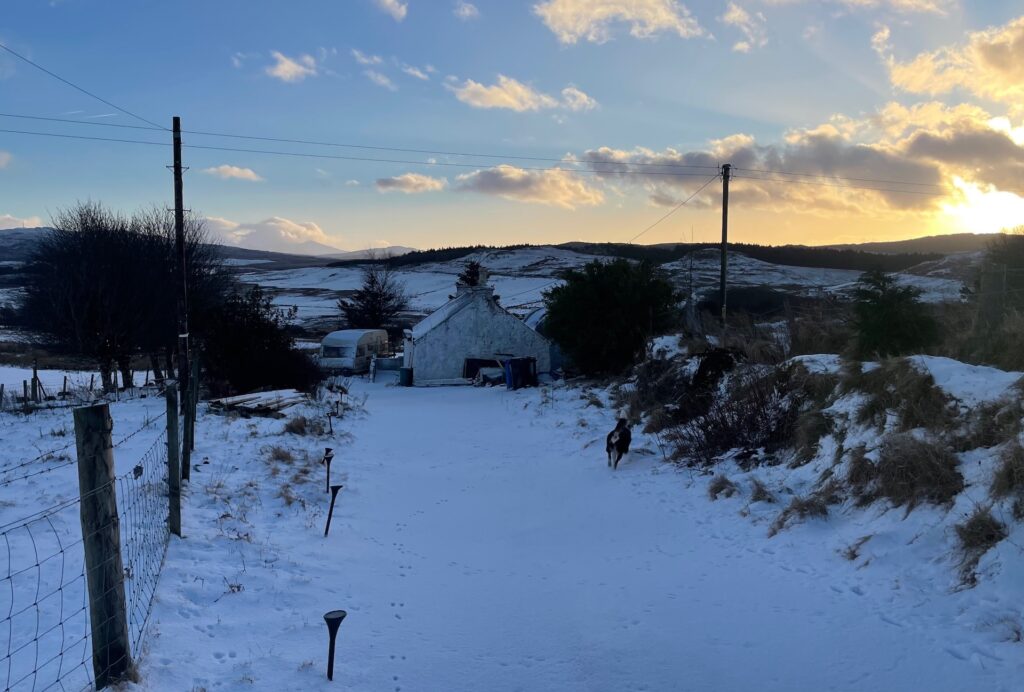
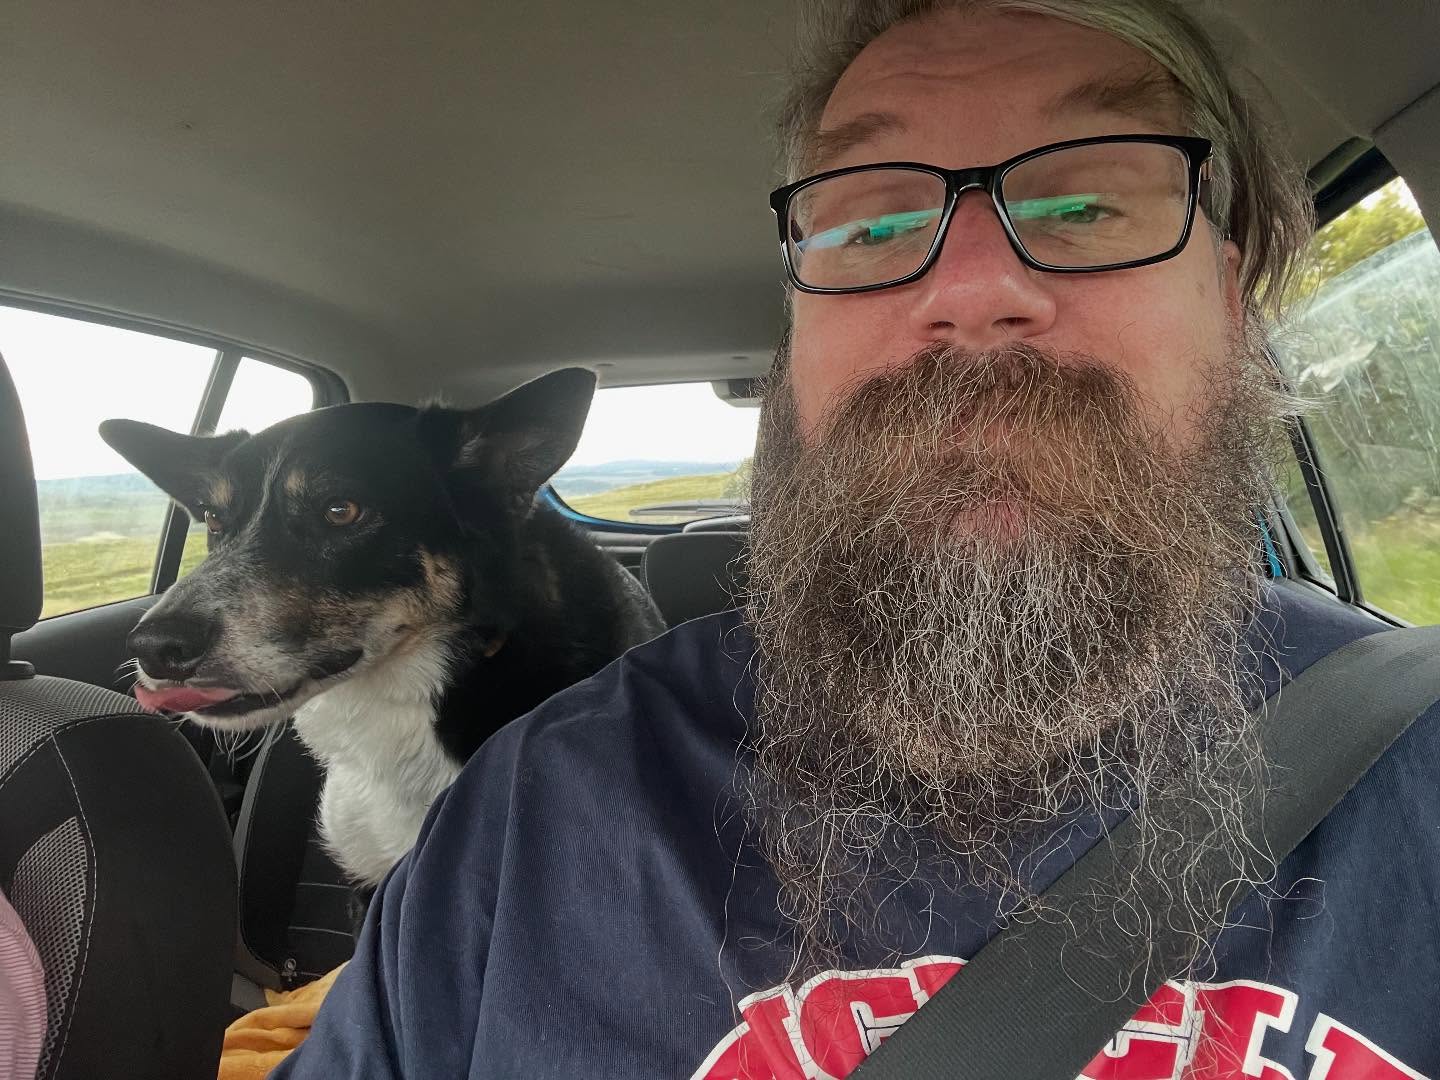
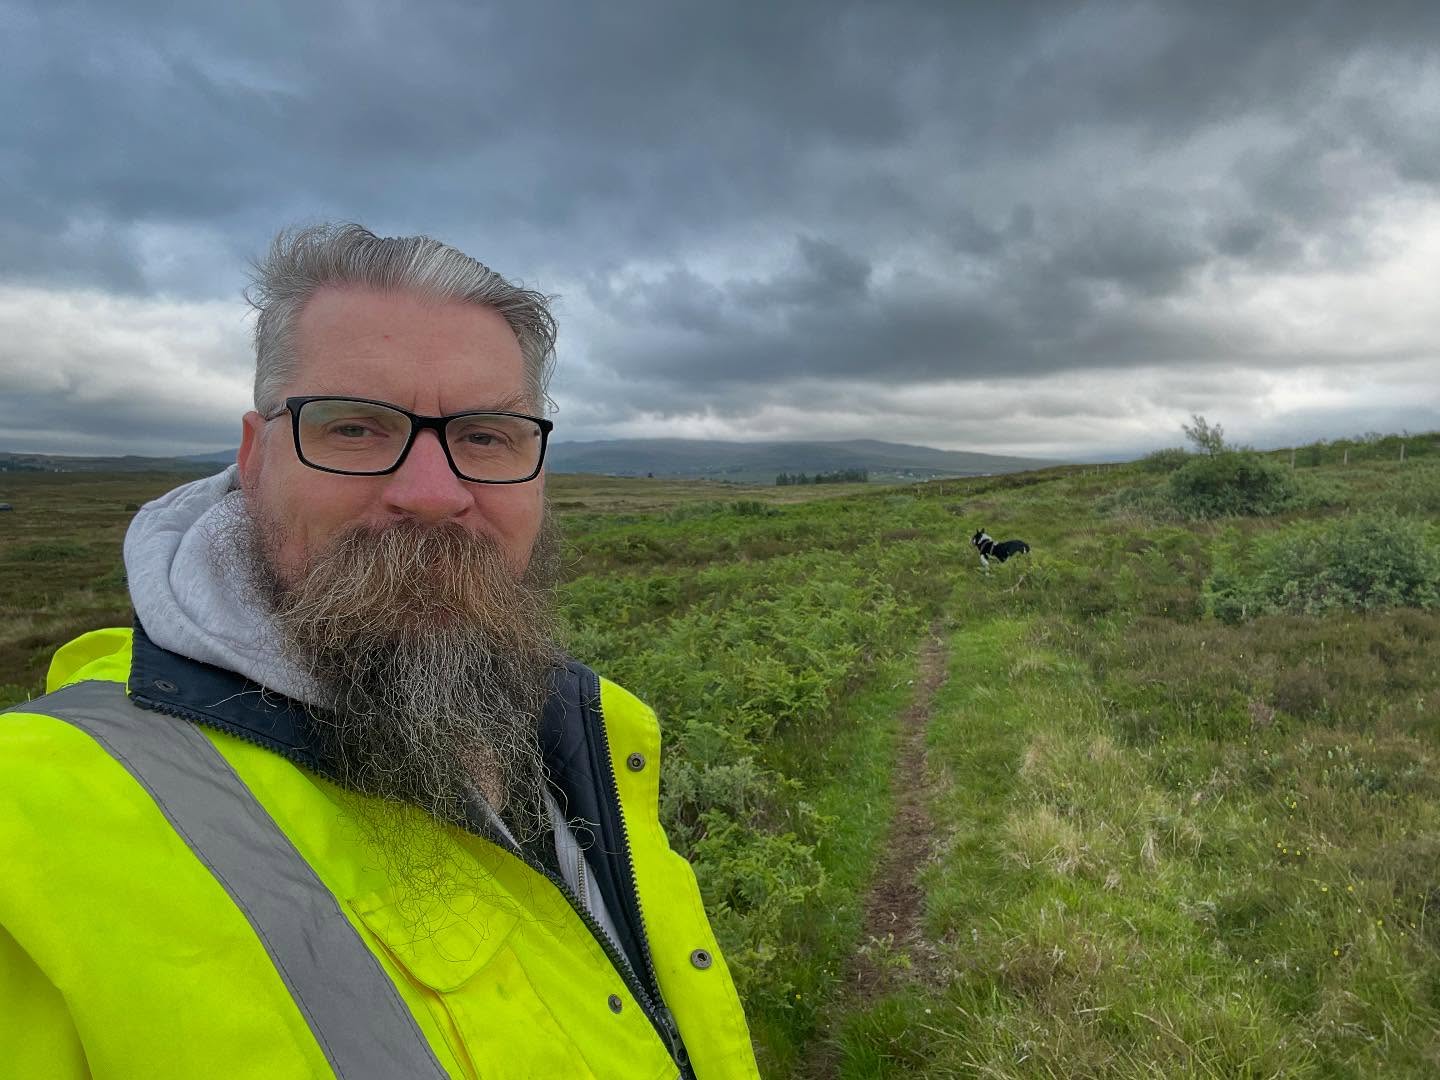
Change has been brewing quietly for some time, and I’m finally excited and a little relieved to share the big news: the family, Rusty, and I are relocating!
After much soul-searching and careful planning, we are getting ready to say farewell to the Isle of Skye. For those of you who have been following the Galleon Acre channel, this explains why things have been a bit quiet lately.
A Bittersweet Departure
I want to be honest with you all: leaving the island wasn’t our original plan. In an ideal world, we never would have left. However, life has a way of throwing unexpected challenges our way.
As much as we appreciate the landscape and community, we have reached a limit regarding the lack of long-term (and even short-term) support services in the area. When considering your family’s future, those services are not just “nice to have”—they are essential. Managing these challenges in such a remote location became unsustainable, and for the well-being of the entire family, we realised we needed to find a place that offers more stability and support.
Why the “Radio Silence”?
Since these plans have been in progress for quite some time, I found myself in a bit of a “holding pattern” with the channel.
It simply didn’t make sense to start pouring energy, hard labour, and resources into building structures or establishing permanent gardens on Skye when we knew we wouldn’t be there to see them flourish. I didn’t want to begin a project I couldn’t finish, and I certainly didn’t want to lead you all down a path that was about to end.
The New Chapter: 4 Acres & Stables
The good news is that the new property truly brings to life the vision of Galleon Acre. We’re not merely relocating to a new house; we’re moving towards a future with:
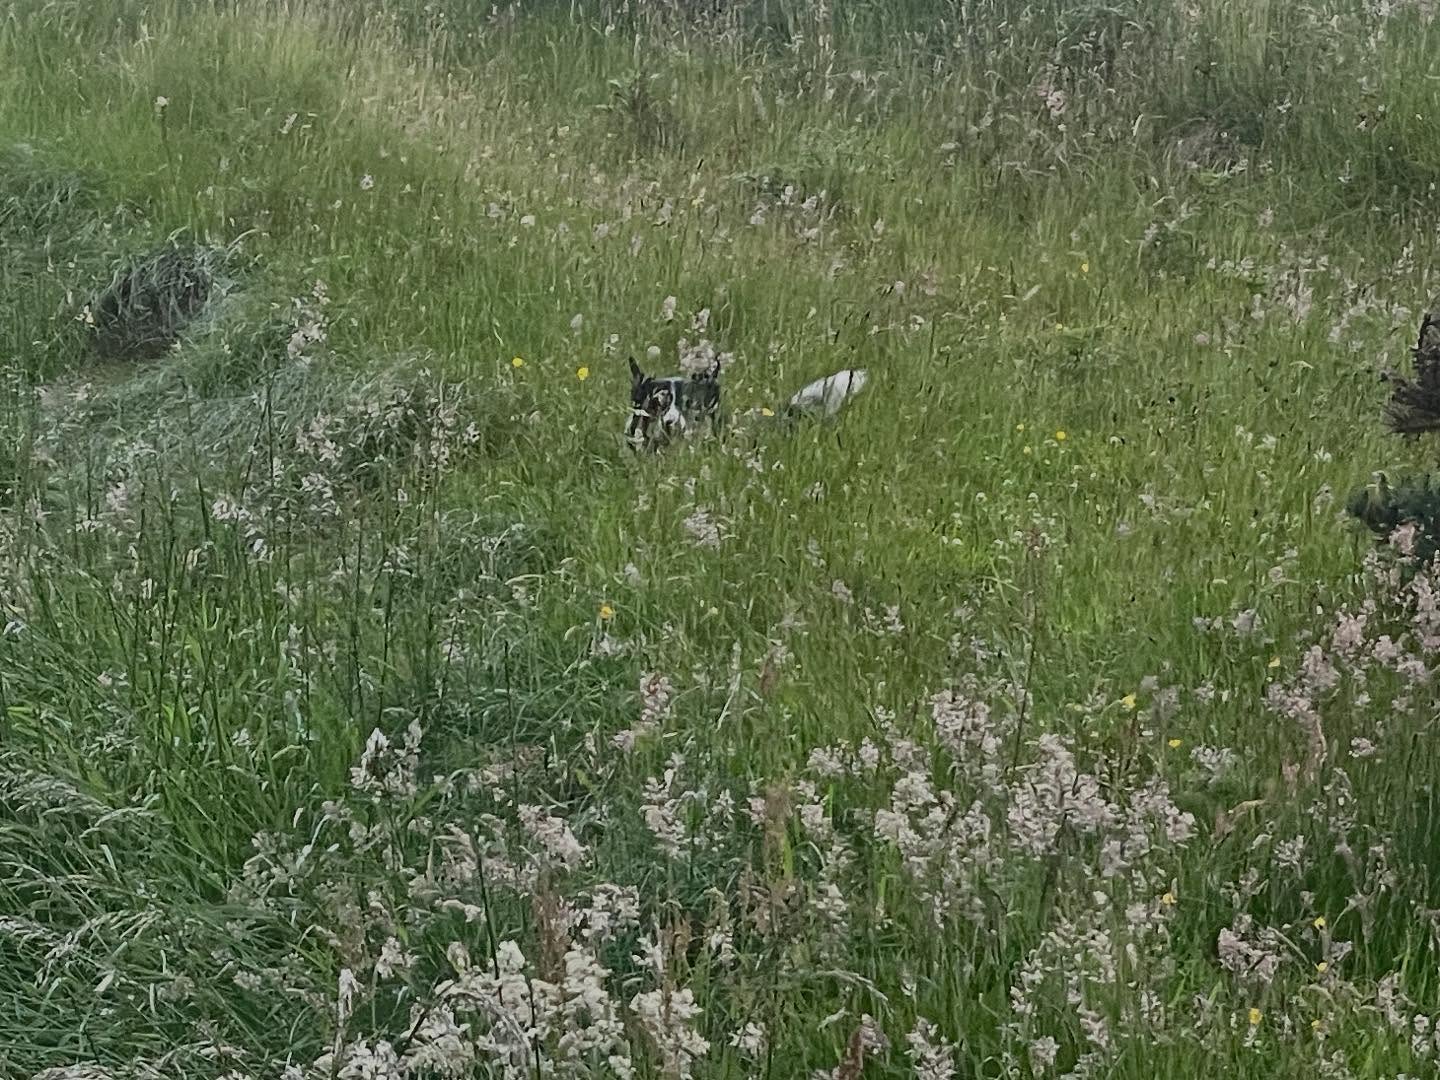
4 Acres of Land: Plenty of room for the family to grow and for Rusty to tire himself out.
Existing Stables: Having proper outbuildings already in place is a massive head start for our homesteading goals.
The Support We Need: Most importantly, we’ll be in a location where the necessary services are within reach.
What’s Next?
The house is nearly fully sold, the logistics are being finalised, and we hope to move in within the next few months.
Expect a significant change in content once we arrive on site. From refurbishing the stables and workshop to planning the new land, the “real” work is about to commence. Thank you for staying with us during the quiet period and for understanding the tough decisions we have had to make.
The Isle of Skye will always hold a part of our hearts, but now it’s time to create something sustainable for the entire crew.
For several years, my educational video work existed under the name WHCLessons. It was a practical label at the time—most of the material was recorded as a supplement to my teaching at West Highland College, and the channel primarily served as a repository for short, focused teaching clips.
However, both the institutional landscape and my own teaching practice have evolved. The college no longer exists in that form, and my work has expanded far beyond that original context. The name increasingly felt like a historical artefact rather than an accurate reflection of the content.
It is therefore time to retire WHCLessons and move forward under a new identity: Smashing Syntax.
Why the Change?
The original name anchored the content to a specific institution and moment in time. For students and developers discovering the material now, it offered little clarity about what the channel actually provides.
The intent behind the videos has always been broader. My work spans multiple educational levels and pathways, from supporting school-level learners navigating SQA qualifications to engaging with degree-level software engineering theory and practice. The constant aim has been to reduce the perceived distance between “entry-level” and “advanced” computing by presenting concepts as part of a continuous learning journey rather than isolated stages.
The rebrand reflects that continuity.
The Identity Behind Smashing Syntax
The name is deliberate and rooted in both discipline and place.
“Smashing.” In Scottish usage, calling something smashing means it is excellent, solid, dependable — something done properly. It carries an everyday confidence rather than hype. That is exactly the ethos I want the channel to embody: not flashy computing content, but clear, well-explained, academically grounded material that helps learners succeed.
It also reflects a mindset. The aim is for students to smash their coursework, assessments, interviews, and technical challenges — not through shortcuts, but through understanding.
“Syntax.” The foundation of everything we build in computing. From a first Python statement to complex distributed architectures, syntax is where thinking becomes executable. It is the common thread across every stage of the learning journey.
Together, the name anchors the channel in two things: a Scottish educational voice, and a focus on the fundamentals that actually carry learners forward.
Positioning Within the Wider Ecosystem
This blog remains the central hub for my academic, technical, and personal work. It will continue to host longer reflections, teaching materials, and research-informed perspectives.
Within that broader landscape:
Smashing Syntax becomes the dedicated home for computer science and software development video content.
Galleon Acre remains focused on self-sufficiency, land development, and lifestyle documentation.
The blog acts as the connective layer—linking ideas, projects, and outputs across both.
The rebrand is therefore not a simple renaming exercise; it is a structural clarification of purpose.
Unlocking the Archive: Unlisted and Private Content
One of the more significant consequences of this transition is the realisation that a substantial volume of material has accumulated in private or unlisted form.
These include:
Short explainer videos created for specific classes or cohorts
Walkthroughs of exam techniques and practical assessments
Demonstrations of programming constructs across multiple languages
Lecture fragments and topic deep-dives never formally published
Early prototypes of teaching formats that informed later delivery
Much of this content was produced for immediate pedagogical need rather than public distribution. However, in aggregate, it represents a valuable knowledge base.
Over the coming months, this material will be reviewed, curated, and either:
published in structured playlists,
re-recorded where clarity or currency requires it, or
integrated into new, more coherent series.
The intention is not simply to “release everything,” but to transform a fragmented archive into a usable learning pathway.
Content Direction Going Forward
The channel’s future output will follow three broad strands.
1. Exam and Qualification Support Targeted guidance for learners navigating National 5, Higher, and Advanced Higher computing, including practical components, common pitfalls, and revision strategies.
2. Core Software Development Practice Conceptual and applied material covering programming paradigms, data structures, databases, and systems design—aligned with undergraduate learning trajectories.
3. Theory, Architecture, and Professional Context Longer-form explorations of design patterns, software architecture, cybersecurity principles, and the realities of industry practice.
Across all strands, the emphasis remains consistent: clarity over novelty, structure over noise, and accessibility without dilution.
A Transitional Moment
Rebranding is often framed as a marketing exercise. In this case, it is better understood as an academic and professional recalibration.
The work itself has not changed in its intent: supporting learners, demystifying computing, and making the path from first exposure to professional competence more navigable. What has changed is the scale, the audience, and the clarity with which that mission can now be articulated.
The transition is already underway across YouTube and associated platforms. Over time, the new identity should make it easier for learners to find the material they need, understand where it fits in their journey, and move between levels without artificial barriers.
The direction is clear. The archive is ready to be surfaced. And the next phase of content creation is already in motion.
As stated in the previous post, I quickly put together a proof of concept for this to see how it worked. Could use lots of refinement, but it could work!
Prototyping a Dual-Touch Control System for a Mobile Game
With my Master’s thesis recently submitted, I’m taking the opportunity to develop a game concept I’ve been considering for some time. The goal is to create a small proof of concept to test the core mechanics and determine if the gameplay is as engaging as I envision it to be.
The Concept
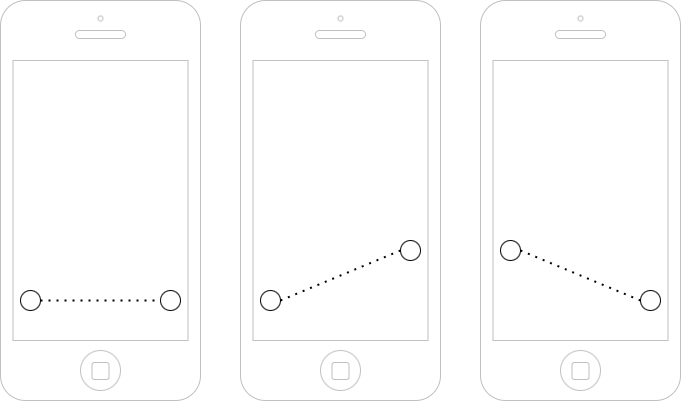
The game is a vertical-scrolling shooter that seamlessly blends fast-paced action with slower, more methodical sections, focusing on precise navigation. The success of these slower segments hinges on a unique, dual-touch control system, which is the primary focus of this initial prototype.
As the wireframe below illustrates, the control scheme utilises two touch points on the screen. The position, distance, and angle of the line connecting these points will directly manipulate the player’s ship. This could be used for navigating through complex environments, aiming a weapon, or controlling a defensive shield.
Development and Goals
My immediate objective is to build a functional prototype to test the feel and responsiveness of this control system on a mobile device. I have chosen Unity as the development engine due to its powerful tools and excellent cross-platform support, which will simplify the process of deploying and testing on both iOS and Android devices.
I’m going to develop it in Unity, simply because I have access to iOS and Android devices.
Phew! After months fuelled by code, curiosity, and far too much food, I’ve finally hit ‘submit’ on my Master of Science in Computer Science with Artificial Intelligence dissertation.
While the official results are still under wraps, I’m so excited to finally share the big question that has been at the heart of my work for the past year.
My Dissertation Question
My research explored: “Exploring AI-Driven Personalised Learning Pathways to Support Student Transition from Secondary to Tertiary Education: A Synthetic Data Approach Grounded in Cognitivism and Constructivism”
In simple terms? I wanted to explore using AI to create personalised, supportive roadmaps for students, helping them bridge the often-daunting gap between finishing secondary school and starting university. This project sits right at the crossroads of educational theory and advanced AI—precisely why I decided to pause my Master of Education (MEd) to immerse myself in computer science. The Synthetic approach was the easiest option within the available timeframe and public datasets, and it also ensures privacy for real individuals.
A Quick Look Back on the Journey
Putting my MEd on hold wasn’t an easy choice, but I knew I needed to understand the “how” behind the technology I was so passionate about. Grappling with neural networks and the realities of building AI systems has given me a toolkit I couldn’t have imagined. It was less of a detour and more of an essential part of the adventure.
Getting My Hands Dirty with Code: It’s one thing to talk about AI in education; it’s another to actually build it. Learning to fine-tune large-scale models has let me peek inside the “black box” and understand what’s truly possible.
Connecting the Dots: Weaving together AI, psychology, and education has been like learning a new language. It has sharpened my eye for spotting the hidden assumptions that specialists in any single field can sometimes overlook.
Learning Patience, the Hard Way: Nothing teaches you resilience like trying to figure out why your code isn’t working at 2 a.m. It’s a skill no textbook can ever truly teach you!
Next Up: Finishing My Master of Education
With my MSc dissertation submitted, my next step is to resume my MEd, which I put on hold. This is where the two threads of my academic journey can come together. Provided I receive the green light from my institution and lecturers, I plan to integrate my AI dissertation work with my remaining MEd modules. The goal is to translate what I’ve learned into real-world pedagogical frameworks. I’m especially excited to:
Turn AI theory into practical design principles that lecturers and course designers can actually use.
Dig into the big ethical questions around bias, fairness, and transparency that numbers and metrics alone can never fully answer.
And Further Down the Road… a PhD?
Looking even further ahead, a PhD has always been on the roadmap—if the stars align with the right timing, funding, and project! My dream would be to take this work to the next level by:
Studying the long-term impact of these AI tools on student success and equity, not just in one-off trials but over several semesters.
Developing ways for educators and students to co-design AI tools, ensuring the technology always serves their real-world needs.
Creating open-source toolkits so that other institutions—especially those with fewer resources—can build and adapt these ideas for their own students.
Bringing It All Together
Completing this dissertation is a significant milestone, but it feels more like a waypoint than a final destination. If this MSc has taught me anything, it’s that the lines between different fields are invitations to collaborate, not walls to keep us apart. Bridging this gap of siloed knowledge within tertiary education is becoming critical for the industry, and especially with the growth of AI systems permeating throughout all knowledge fields.
By blending the worlds of AI and pedagogy, I aim to contribute to the creation of learning environments where technology truly supports people’s flourishing.
A huge thank you to all the colleagues, mentors, friends and family who have encouraged (and occasionally endured!) my cross-disciplinary journey. I’m eager to share my full results with you all—and to begin addressing the next set of questions.
Stay tuned for more updates once the final result is in the rear-view mirror!