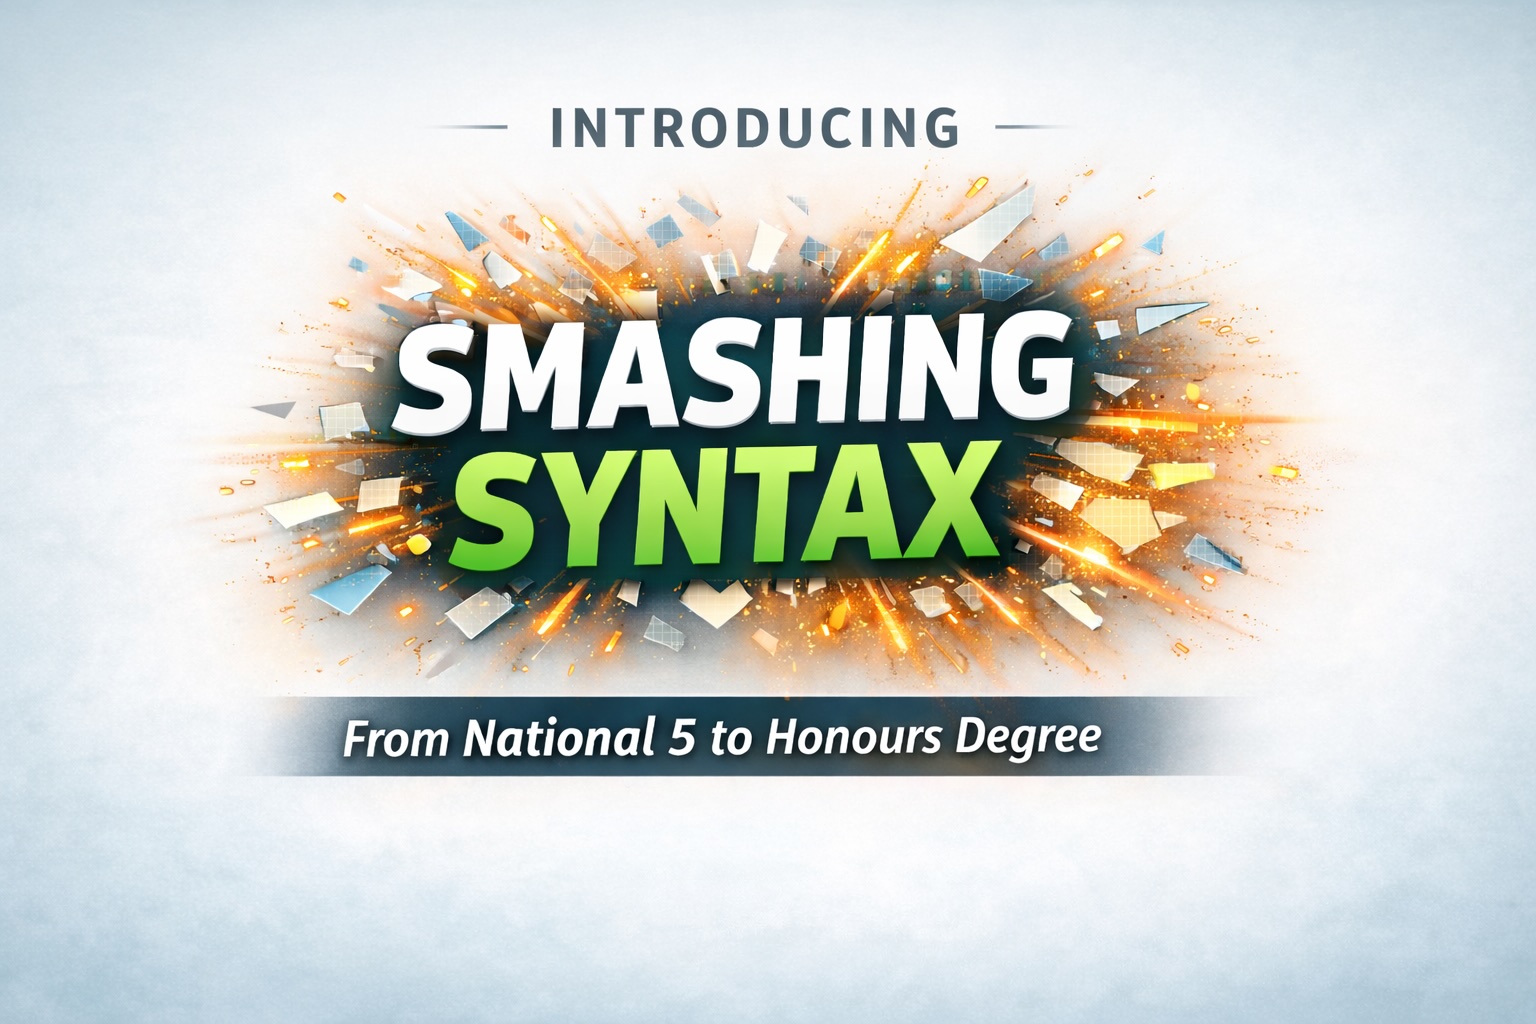
From WHCLessons to Smashing Syntax: Rebranding the Code
For several years, my educational video work existed under the name WHCLessons. It was a practical label at the time—most of the material was recorded as a supplement to my teaching at West Highland College, and the channel primarily served as a repository for short, focused teaching clips.
However, both the institutional landscape and my own teaching practice have evolved. The college no longer exists in that form, and my work has expanded far beyond that original context. The name increasingly felt like a historical artefact rather than an accurate reflection of the content.
It is therefore time to retire WHCLessons and move forward under a new identity: Smashing Syntax.
Why the Change?
The original name anchored the content to a specific institution and moment in time. For students and developers discovering the material now, it offered little clarity about what the channel actually provides.
The intent behind the videos has always been broader. My work spans multiple educational levels and pathways, from supporting school-level learners navigating SQA qualifications to engaging with degree-level software engineering theory and practice. The constant aim has been to reduce the perceived distance between “entry-level” and “advanced” computing by presenting concepts as part of a continuous learning journey rather than isolated stages.
The rebrand reflects that continuity.
The Identity Behind Smashing Syntax
The name is deliberate and rooted in both discipline and place.
“Smashing.” In Scottish usage, calling something smashing means it is excellent, solid, dependable — something done properly. It carries an everyday confidence rather than hype. That is exactly the ethos I want the channel to embody: not flashy computing content, but clear, well-explained, academically grounded material that helps learners succeed.
It also reflects a mindset. The aim is for students to smash their coursework, assessments, interviews, and technical challenges — not through shortcuts, but through understanding.
“Syntax.” The foundation of everything we build in computing. From a first Python statement to complex distributed architectures, syntax is where thinking becomes executable. It is the common thread across every stage of the learning journey.
Together, the name anchors the channel in two things: a Scottish educational voice, and a focus on the fundamentals that actually carry learners forward.
Positioning Within the Wider Ecosystem
This blog remains the central hub for my academic, technical, and personal work. It will continue to host longer reflections, teaching materials, and research-informed perspectives.
Within that broader landscape:
- Smashing Syntax becomes the dedicated home for computer science and software development video content.
- Galleon Acre remains focused on self-sufficiency, land development, and lifestyle documentation.
- The blog acts as the connective layer—linking ideas, projects, and outputs across both.
The rebrand is therefore not a simple renaming exercise; it is a structural clarification of purpose.
Unlocking the Archive: Unlisted and Private Content
One of the more significant consequences of this transition is the realisation that a substantial volume of material has accumulated in private or unlisted form.
These include:
- Short explainer videos created for specific classes or cohorts
- Walkthroughs of exam techniques and practical assessments
- Demonstrations of programming constructs across multiple languages
- Lecture fragments and topic deep-dives never formally published
- Early prototypes of teaching formats that informed later delivery
Much of this content was produced for immediate pedagogical need rather than public distribution. However, in aggregate, it represents a valuable knowledge base.
Over the coming months, this material will be reviewed, curated, and either:
- published in structured playlists,
- re-recorded where clarity or currency requires it, or
- integrated into new, more coherent series.
The intention is not simply to “release everything,” but to transform a fragmented archive into a usable learning pathway.
Content Direction Going Forward
The channel’s future output will follow three broad strands.
1. Exam and Qualification Support
Targeted guidance for learners navigating National 5, Higher, and Advanced Higher computing, including practical components, common pitfalls, and revision strategies.
2. Core Software Development Practice
Conceptual and applied material covering programming paradigms, data structures, databases, and systems design—aligned with undergraduate learning trajectories.
3. Theory, Architecture, and Professional Context
Longer-form explorations of design patterns, software architecture, cybersecurity principles, and the realities of industry practice.
Across all strands, the emphasis remains consistent: clarity over novelty, structure over noise, and accessibility without dilution.
A Transitional Moment
Rebranding is often framed as a marketing exercise. In this case, it is better understood as an academic and professional recalibration.
The work itself has not changed in its intent: supporting learners, demystifying computing, and making the path from first exposure to professional competence more navigable. What has changed is the scale, the audience, and the clarity with which that mission can now be articulated.
The transition is already underway across YouTube and associated platforms. Over time, the new identity should make it easier for learners to find the material they need, understand where it fits in their journey, and move between levels without artificial barriers.
The direction is clear. The archive is ready to be surfaced. And the next phase of content creation is already in motion.